
Custom Blinds Installation Checklist for Homeowners
- WINDOWCOVERINGWIZARD
- Jul 3
- 8 min read
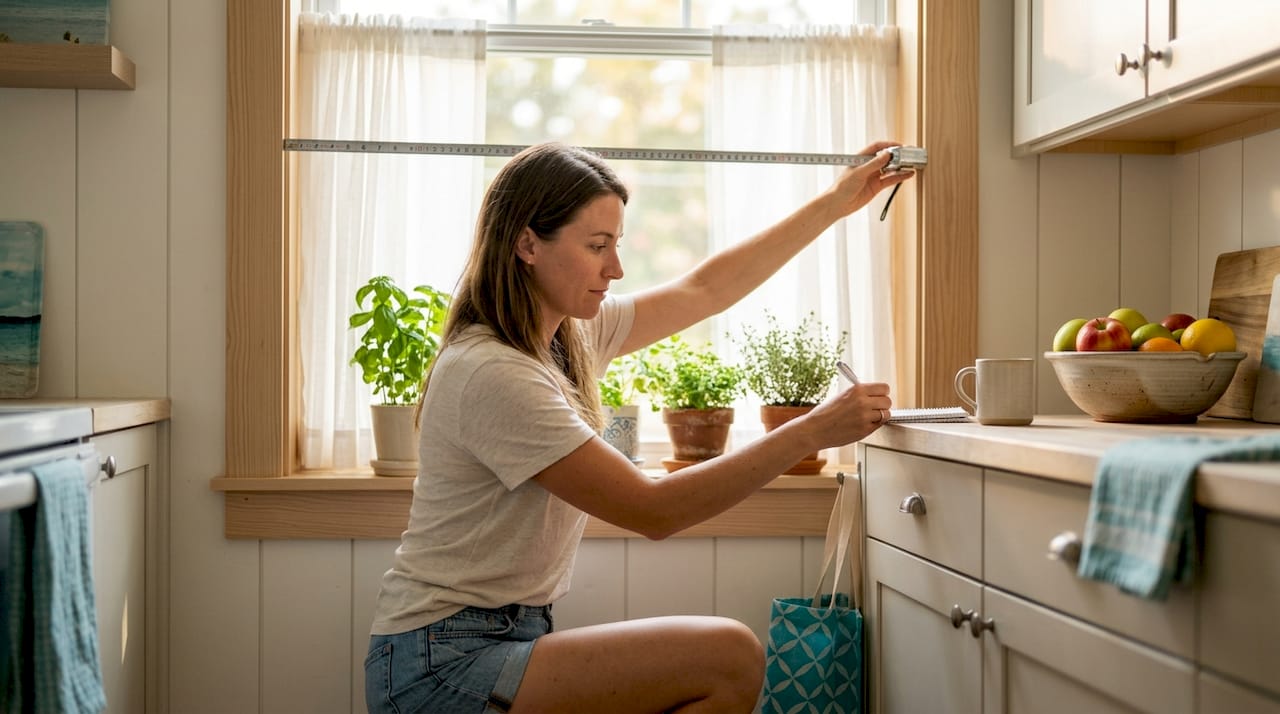
A custom blinds installation checklist is the single most reliable tool for avoiding costly sizing errors, crooked brackets, and blinds that let in light where they shouldn’t. Most installation failures trace back to skipped steps in measurement or hardware selection, not the blinds themselves. This guide walks you through every stage: measuring windows for custom blinds, choosing the right product for each room, preparing your work area, installing brackets correctly, and verifying the final result. Follow each step and you get professional-quality results without the guesswork that sends homeowners back to the hardware store.
1. Your custom blinds installation checklist starts with accurate measurement
Measurement is where most installations go wrong. A single rounding error can make a blind too wide to fit inside the frame or too narrow to block light on an outside mount. Getting this right before you order saves time, money, and frustration.
Use a steel tape measure every time. Steel tape measures are the only reliable tool for this job. Cloth tapes stretch and wooden yardsticks lack the rigidity needed for accurate readings. A steel tape gives you consistent results across every window.
Measure in three locations. Measure width and height at the top, middle, and bottom of the window opening. Windows are rarely perfectly square, so each location can read differently. For inside mounts, use the smallest width measurement and the largest height measurement. That combination guarantees the blind fits without binding.
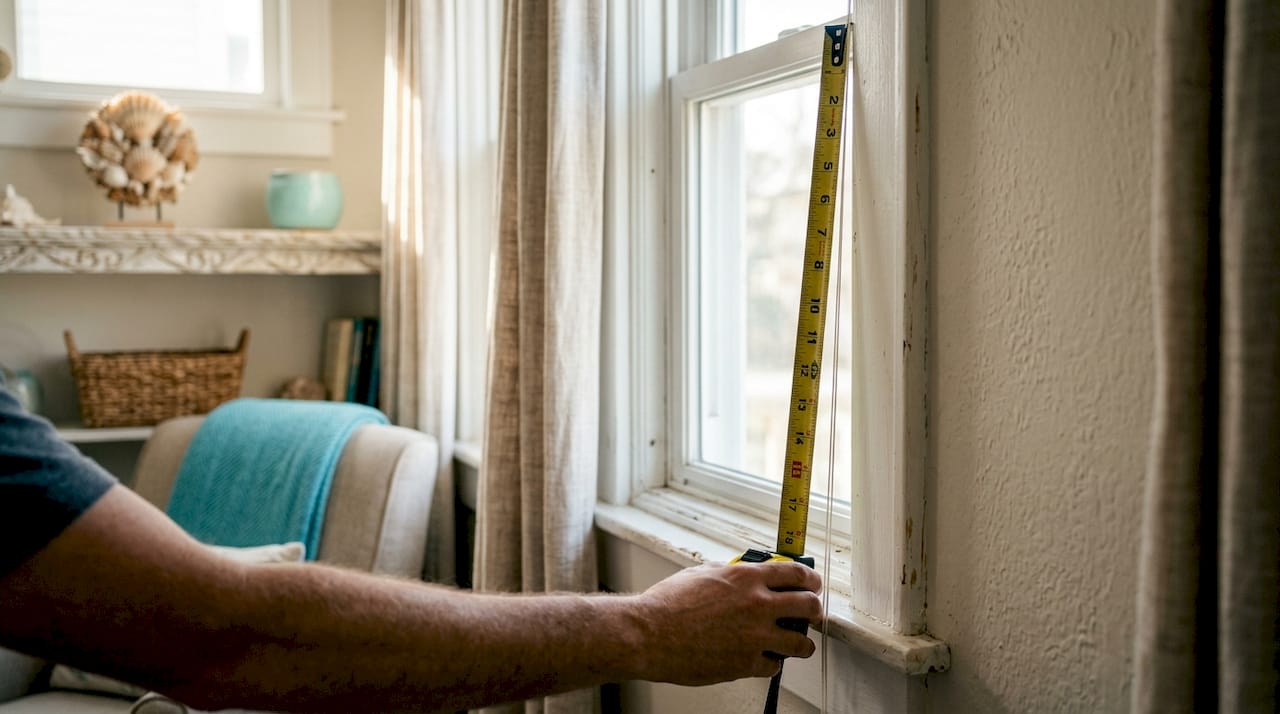
Record to the nearest 1/8 inch. Measuring to 1/8-inch increments prevents blinds from arriving oversized. Never round up to the nearest half inch or full inch. The factory needs your exact numbers to apply the correct manufacturing deductions.
Measure every window individually. Even windows that look identical in the same room can vary. New construction windows can differ by a noticeable margin from one opening to the next. Label each measurement with the room and window position so nothing gets mixed up at the order stage.
Pro Tip: Give the manufacturer your exact measurements without making your own size deductions. Manufacturers apply precise allowances based on the mount type you select. If you pre-deduct, you double the adjustment and end up with blinds that are too small.
2. Choosing the right blind type and mount for each room
The right blind for one room is often wrong for another. Bedroom windows need maximum light blockage. Kitchen windows need moisture resistance. Living rooms often call for layered light control. Matching the product to the room’s function is as important as getting the measurements right.
Inside mount vs. outside mount. Inside mount blinds sit within the window frame for a clean, built-in look. They require a minimum frame depth, typically at least 1.5 inches, to mount brackets without obstruction. Outside mount blinds attach above and beyond the frame. Outside mount blinds should extend 1.5 to 3 inches beyond the window opening on all sides for maximum light blockage and privacy. Outside mounts also visually enlarge the window, which works well in smaller rooms.
Room-by-room product guide:
Bedrooms: Blackout roller shades or light-blocking shades with outside mount for full coverage. Outside mount placement enhances blackout efficiency by eliminating light gaps at the frame edges.
Living rooms: Layered shades or sheer shades that allow daytime privacy while admitting diffused light.
Kitchens and bathrooms: Faux wood blinds or moisture-resistant roller shades that clean easily and resist warping.
Home offices: Solar shades that cut glare without blocking the view entirely.
Patio doors: Vertical blinds sized for wide spans and easy panel operation.
Prioritize by room exposure. Start with street-facing bedrooms and ground-floor living spaces before moving to interior rooms. This approach gives you privacy and comfort where you need it most while you phase the rest of the installation. A detailed overview of blind types by room can help you finalize your selections before ordering.
3. Preparing your windows and work area
Preparation determines how smoothly the installation goes. Skipping this stage leads to crooked brackets, stripped screws, and blinds that won’t operate correctly.
Clear the area. Remove furniture, curtains, and any existing hardware from the window zone. You need unobstructed access to the full window frame and wall above it.
Gather your tools. You need a power drill, a level, a pencil, a steel tape measure, wall anchors, and the hardware included with your blinds. Check the hardware bag before you start.
Check frame depth and integrity. For inside mounts, confirm the frame is deep enough for the headrail and brackets. Press on the frame to check for soft spots or rot that could compromise screw hold.
Mark bracket positions. Use a pencil and level to mark where each bracket will go. Brackets that are even a few degrees off will cause the headrail to sit crooked.
Identify your wall type. Drywall, plaster, and concrete each require different anchors. Using the wrong anchors for your wall type is one of the most common reasons blinds fall down after installation. Match the anchor to the substrate before you drill.
Pro Tip: Hold the headrail up to the marked bracket positions before drilling. Confirm the blind clears any window cranks, handles, or locks. Obstructions you miss at this stage will block the blind from operating once it’s mounted.
4. Installing brackets and mounting the blinds
This is the stage where preparation pays off. Work methodically and check alignment at every step.
Drill pilot holes at marked positions. Pilot holes prevent the wood or drywall from splitting and make driving screws much easier.
Insert anchors if needed. For drywall without a stud behind the bracket position, use toggle bolts or expansion anchors rated for the weight of your blind.
Attach brackets and check level. Mount each bracket loosely, then hold a level across them before tightening. Adjust as needed before driving screws fully home.
Snap the headrail into the brackets. Most headrails click into place with firm, even pressure. Listen for the click on both ends before releasing.
Test the operation before finishing. Raise, lower, and tilt the blind through its full range of motion. Catch any binding or misalignment now, before you add valances or trim.
Common mistakes to avoid:
Skipping the level check and assuming the wall is straight. It rarely is.
Over-tightening screws in soft wood frames, which strips the hole and weakens the hold.
Forgetting to account for the headrail depth when setting bracket position on inside mounts.
Ignoring cord management. Loose cords create a safety hazard, especially in homes with children. Secure cords with the included cleats or clips at a height out of reach.
For motorized blinds, handle battery packs carefully during installation and confirm polarity before closing the compartment.
A turnkey installation service handles every one of these steps for you, which is worth considering for large homes or complex window configurations.
5. Final inspection and maintenance after installation
A thorough post-installation check catches problems before they become permanent. Run through this list after every window.
Operational checks:
Raise and lower the blind fully. The movement should be smooth with no catching or jerking.
Tilt slats or adjust fabric through the full range. Every position should hold without slipping.
Check that the blind sits level when fully lowered. A crooked blind usually means one bracket is slightly higher than the other.
Look for light gaps at the sides, top, or bottom. Gaps on inside mounts often mean the blind is undersized. Gaps on outside mounts mean the extension beyond the frame is insufficient.
Cleaning by material:
Faux wood and aluminum blinds: Wipe with a damp cloth. Avoid soaking, which can warp faux wood slats.
Fabric roller shades: Spot clean with mild soap and water. Do not submerge.
Cellular shades: Use a soft brush attachment on a vacuum to remove dust from the cells.
Child safety and cord management. A quality installer walks homeowners through safe cord use, motorized remote care, and fabric cleaning at the time of installation. If you installed the blinds yourself, review the cord safety guidelines that came with the product. Secure all looped cords to wall cleats mounted at least 60 inches from the floor.
When to call a professional. If a blind operates unevenly after adjustment, or if brackets pull away from the wall within the first few weeks, contact a local window treatment specialist rather than attempting repeated repairs that may widen the mounting holes.
Key Takeaways
A successful custom blinds installation depends on accurate measurement, matched hardware, and a room-by-room product strategy executed in the right sequence.
Point | Details |
Measure to 1/8-inch accuracy | Use a steel tape and record three measurements per window to catch size variation. |
Match mount type to the room’s needs | Outside mounts block more light; inside mounts give a cleaner, built-in appearance. |
Prioritize high-exposure rooms first | Install in street-facing bedrooms and ground-floor living spaces before interior rooms. |
Use correct anchors for your wall type | Wrong anchors cause blinds to fall. Match the anchor to drywall, plaster, or concrete. |
Inspect and test before finishing | Check level, operation, and light gaps immediately after mounting to catch errors early. |
What I’ve learned after years of watching installations go sideways
The measurement step gets underestimated every single time. Homeowners spend weeks choosing the perfect fabric or slat color, then rush through the measuring in ten minutes with a cloth tape from a junk drawer. That one shortcut causes more returns and reorders than any other mistake I’ve seen.
The second thing most people get wrong is trying to do every window at once. Phasing your installation by room priority is not just a budget strategy. It forces you to slow down, verify each window before moving to the next, and catch errors while they’re still cheap to fix. A homeowner who installs all 14 windows in a weekend is almost guaranteed to find at least two that need adjustment.
My honest advice: if you have even one window with an unusual depth, an awkward crank handle, or a frame that feels soft, call in a professional for that window. The cost of a single professional installation is almost always less than the cost of reordering a blind that didn’t fit because the frame condition wasn’t accounted for. The DIY vs. professional comparison is worth reading before you commit to doing everything yourself.
— Dave
Brandywineblinds makes the whole process easier
Brandywineblinds has spent over 30 years helping homeowners in Chester County and the surrounding area get custom window treatments that fit correctly the first time. Their local experts handle measuring, product selection, and installation as a complete service, so you don’t have to manage each step alone.

Whether you need blackout shades for a bedroom, vertical blinds for a patio door, or a full-home solution across every room, Brandywineblinds offers a lifetime service warranty and pricing that runs well below what big-box retailers charge. Browse the full blinds and shades catalog or contact Brandywineblinds directly to schedule a free in-home consultation with a local specialist.
FAQ
How do I measure windows for custom blinds correctly?
Measure width and height at three locations using a steel tape measure, then use the smallest width and largest height for inside mounts. Record every measurement to the nearest 1/8 inch and never round up.
What is the difference between inside and outside mount blinds?
Inside mount blinds fit within the window frame for a built-in look and require adequate frame depth. Outside mount blinds attach above the frame and should extend 1.5 to 3 inches beyond the opening on each side for full light coverage.
Should I install all my blinds at the same time?
Phasing your installation by room priority is the better approach. Start with street-facing bedrooms and ground-floor living spaces, then work toward interior rooms as budget allows.
Why do my blinds fall down after installation?
The most common cause is using the wrong anchors for the wall type. Drywall, plaster, and concrete each require specific anchors. Using a standard screw in drywall without an anchor will not hold the weight of the blind over time.
When should I hire a professional instead of installing blinds myself?
Hire a professional when windows have unusual depths, damaged frames, or obstructions like cranks and handles that complicate bracket placement. A professional also provides guidance on cord safety, motorized operation, and cleaning at the time of installation.
Recommended
Comments