
How Skylight Blinds Are Installed: A DIY Guide
- WINDOWCOVERINGWIZARD
- 12 minutes ago
- 8 min read
Skylight blind installation is the process of measuring your skylight opening, mounting brackets to the frame, and attaching a headrail, center rail, and bottom rail in sequence to create a functional, tensioned shade. Done correctly, it takes most homeowners two to three hours with basic tools: a drill, a level, a measuring tape, and a pencil. The result is meaningful. Properly fitted skylight shades block heat gain in summer, retain warmth in winter, and give you real control over glare. This guide walks you through every step, from measuring to final tension adjustment, so you get it right the first time.
How skylight blinds are installed: start with the right measurements
Accurate measurements are the single most important factor for a successful skylight blind installation. A shade that is even a quarter inch too wide will bind in the frame. One that is too narrow will let light bleed around the edges.
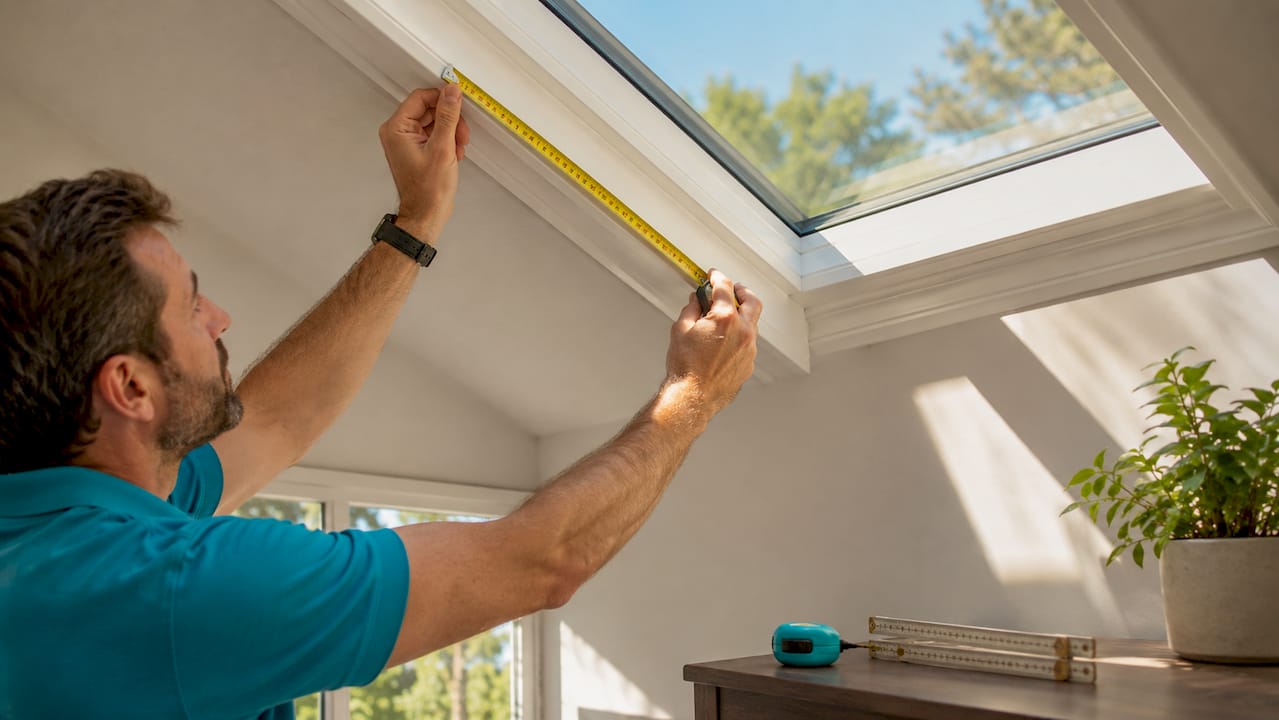
Measure width and height at three points each
Measure the width of your skylight at the top, middle, and bottom of the opening. Then measure the height on the left side, center, and right side. Use the smallest measurement from each set. That approach prevents binding in inside mount installations, where the blind sits within the frame rather than covering it from outside.
Width: Measure at top, middle, and bottom. Record the smallest number.
Height: Measure on the left, center, and right. Record the smallest number.
Frame depth: Check that you have at least 1 1/4 inches of flat vertical surface for bracket mounting. Cellular shade brackets require this minimum depth to seat securely.
Mount type: Inside mount fits within the frame. Outside mount overlaps it. Most skylight blinds are inside mount by design.
Write every measurement down before ordering your blind. Ordering from a custom supplier like Brandywineblinds means your shade is cut to your exact dimensions, so there is no trimming required on site.
Pro Tip: Measure twice, then measure a third time on a different day. Temperature changes can cause skylight frames to shift slightly, and a fresh measurement catches any discrepancy before you place your order.
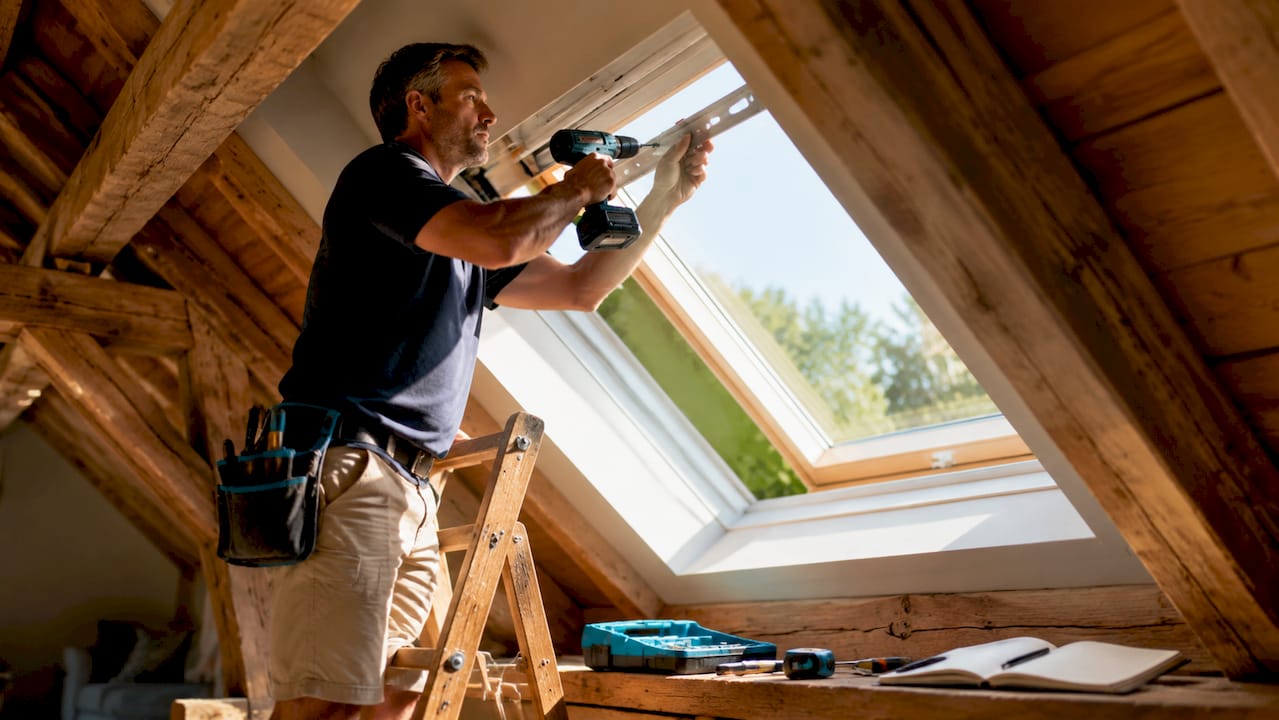
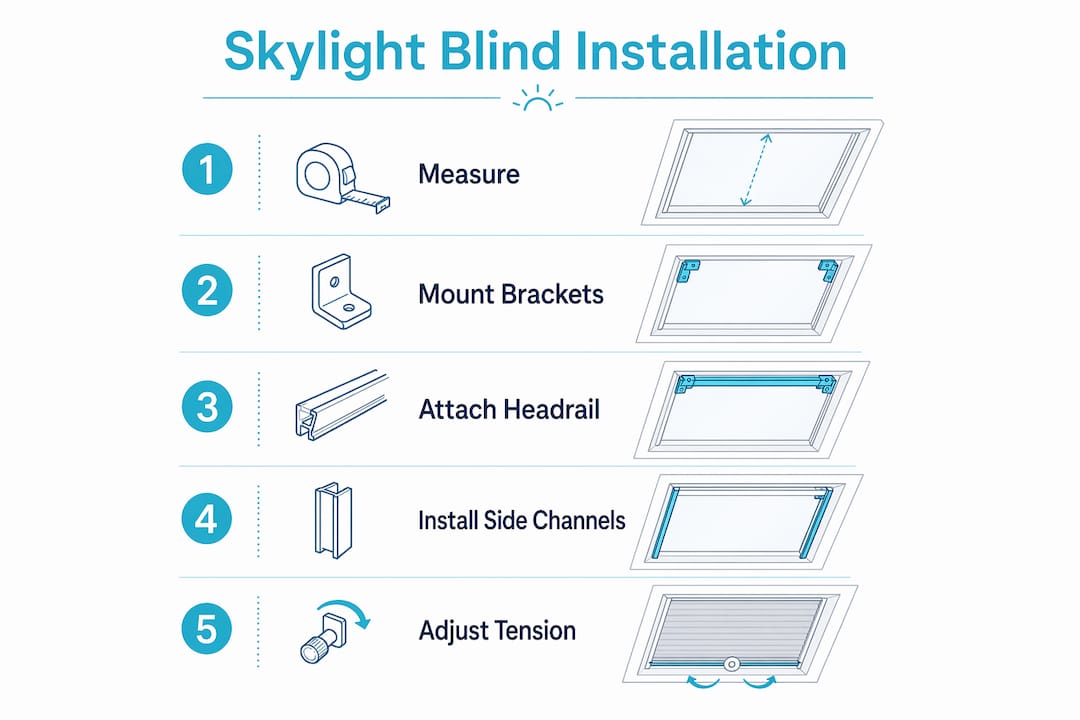
Step-by-step skylight blind installation process
The installation sequence matters. Skipping steps or reversing the order creates tension problems that are hard to diagnose after the fact.
Mark bracket positions. Hold the headrail up to the skylight opening and mark the screw holes with a pencil. Use a level to confirm the marks are even before you drill anything.
Drill pilot holes. Use a drill bit slightly smaller than your screw diameter. If you are drilling into drywall rather than wood, use drywall anchors. Brackets must be level and spaced properly, especially when more than two are required for wider skylights.
Mount the brackets. Drive screws through the brackets into the pilot holes. Give each bracket a firm tug to confirm it does not shift. A loose bracket will cause the entire blind to sag over time.
Install the headrail first. Align the headrail in the skylight opening and fasten it through the mounting points behind the first fabric fold. An extended driver bit makes this step easier when working with pleated shades where the fabric obscures the screw points.
Slide the center rail flush against the headrail. This positions the fabric correctly before you set the bottom rail.
Move the bottom rail to the opposite end and fasten it. The bottom rail is intentionally shorter by about one inch before securing. That shorter length creates the tension the blind needs to operate smoothly. Do not try to stretch it to match the opening. Trust the manufacturer’s spec.
Test operation. Raise and lower the blind several times. It should move without binding or sagging. If it drags or skips, check bracket alignment before tightening anything permanently.
Pro Tip: Before final tightening, leave all screws slightly loose and run the blind up and down three times. This lets the fabric and rails self-align. Then tighten everything in one pass.
Why side channels matter on angled skylights
Most residential skylights sit on a sloped roof plane, not a vertical wall. That angle creates a problem: gravity pulls the blind fabric away from the glass. Side channels are not optional on sloped skylights. They are the mechanism that holds the fabric flat against the glass and prevents it from sliding down between uses.
Side channels are narrow tracks, usually aluminum or plastic, that run along both sides of the skylight opening. The blind fabric feeds into these tracks and stays captured as the shade raises or lowers. Without them, even a well-tensioned blind will creep downward on a steep pitch.
How tension cables work with side channels
Some skylight blind systems use tension cables instead of rigid side channels. The cables run through loops or grommets along the fabric edges and attach to anchor points at the top and bottom of the frame. The principle is the same: keep the fabric under lateral control so gravity cannot pull it sideways or down.
Feature | Side Channels | Tension Cables |
Best for | Steep pitch skylights | Moderate pitch skylights |
Material | Aluminum or plastic track | Stainless steel cable |
Adjustment | Fixed after installation | Adjustable at anchor points |
Fabric contact | Full edge capture | Edge loops only |
DIY difficulty | Moderate | Moderate to advanced |
After installing either system, test the blind by raising and lowering it repeatedly to detect early tracking issues. Uneven tracking shows up as the fabric rubbing one side of the channel more than the other. Adjust cable tension or reposition a channel bracket to correct it before the fabric wears.
Common problems to watch for:
Fabric bunching on one side of the channel
Blind sliding down when fully raised
Resistance when lowering that was not present when raising
Visible gaps between fabric edge and channel wall
Pleated, cellular, and motorized: does the blind type change the install?
The core installation sequence stays the same across blind types. The differences show up in the mounting hardware and the complexity of the final connection.
Pleated blinds are the most common DIY choice for skylights. The headrail snaps or screws into brackets, and the fabric folds compress neatly when raised. The Airstream Supply Company installation method for pleated shades is a reliable reference: headrail first, center rail second, bottom rail last with intentional tension built in.
Cellular shades add an insulating honeycomb layer that improves energy efficiency. The bracket requirements are slightly more demanding. You need that minimum 1 1/4 inch frame depth, and the brackets must be perfectly level or the cells will compress unevenly. Brandywineblinds carries cellular shades designed for skylight applications with the right depth specs already accounted for.
Motorized blinds are a different category. Velux proprietary mounting clips allow their motorized blinds to snap into the skylight frame channels without drilling, which makes them genuinely easy for a first-time installer. However, hardwired motorized systems require an electrician. Battery-operated motorized options avoid that requirement entirely and work well for hard-to-reach skylights. If you are considering motorized solar shades for a high or steep skylight, professional installation is worth the cost for both safety and warranty protection.
When to call a pro:
The skylight is more than 10 feet off the floor
The pitch is steeper than 45 degrees
The blind requires hardwired electrical connections
The frame is damaged or out of square
Common mistakes that derail a good installation
Most failed skylight blind installations come down to a small number of repeatable errors. Knowing them in advance saves you a second trip up the ladder.
Skipping the three-point measurement. Measuring only once at the center gives you an average, not the minimum. The minimum is what matters for inside mount fit.
Not leveling the brackets. Even a two-degree tilt causes the blind to track unevenly. Always use a level, not your eye.
Ignoring the intentional tension gap. The bottom rail appears shorter before securing by design. Forcing it to match the full opening length removes the tension the blind needs to function.
Omitting side channels on a sloped skylight. This is the most common oversight. A flat skylight can work without them. A sloped one cannot.
Final tightening before testing. Lock everything down only after you have confirmed smooth operation. Adjustments after final tightening often require removing and remounting brackets.
Pro Tip: Keep a small flashlight handy during installation. Skylight frames are often shadowed, and seeing the screw seat clearly prevents stripped holes from misaligned driving.
Key takeaways
Successful skylight blind installation depends on precise measurement, correct sequencing, and proper tension adjustment from the start.
Point | Details |
Measure at three points | Always use the smallest width and height measurement to prevent binding in inside mount installations. |
Follow the headrail-first sequence | Install headrail, then center rail, then bottom rail to build correct tension into the blind. |
Use side channels on sloped skylights | Side channels are required on angled installations to prevent fabric from sliding due to gravity. |
Test before final tightening | Raise and lower the blind several times to confirm smooth tracking before locking brackets in place. |
Know when to hire a pro | High skylights, steep pitches, and hardwired motorized systems call for professional installation. |
What i learned installing skylight blinds the hard way
The first skylight blind I installed looked perfect until I raised it. The fabric bunched on the left side and the whole shade sat crooked. The problem was a bracket I had eyeballed instead of leveled. Two degrees off. That is all it took.
The second lesson came from the bottom rail. I genuinely thought the manufacturer had sent me the wrong size. It was about an inch short of the opening. I almost called to complain before I read the instructions again. That gap is the tension. Without it, the blind goes limp and sags within a week. Trusting the manufacturer’s instructions on that point is not optional.
For anyone tackling this for the first time: go slow on the measurement step. Everything downstream depends on it. And if your skylight is on a steep pitch, do not skip the side channels. I have seen blinds installed without them on a 40-degree pitch. They look fine for about two weeks. Then gravity wins.
The professional installation guide from Brandywineblinds is worth reading even if you plan to DIY. It lays out exactly which scenarios cross the line from manageable to genuinely risky.
— Dave
Get the right skylight blinds from Brandywineblinds
Finding a skylight blind that fits perfectly and lasts is harder than it looks at the big box store. Brandywineblinds cuts out the corporate overhead and delivers custom window treatments at prices typically 30% lower than franchise competitors, backed by a lifetime service warranty.

Their local experts in Chester County, PA help you select from cellular shades, light control and blackout options, solar shades, and more, all sized to your exact skylight dimensions. Professional installation is available for high, steep, or motorized skylight applications where DIY carries real risk. Browse their full range or request a consultation at Brandywineblinds to get a quote tailored to your home.
FAQ
How do i measure a skylight for blinds?
Measure the width at the top, middle, and bottom of the opening, then measure the height on the left, center, and right. Use the smallest measurement from each set to order the correct size for an inside mount installation.
Do skylight blinds need side channels?
Side channels are required for any skylight on a sloped roof plane. They hold the fabric against the glass and prevent the blind from sliding down due to gravity.
What order do you install skylight blind rails?
Install the headrail first, then slide the center rail flush against it, then move the bottom rail to the far end and fasten it. The bottom rail is intentionally shorter by about one inch to create the tension needed for smooth operation.
Can i install motorized skylight blinds myself?
Battery-operated motorized blinds, including Velux clip-in systems, are DIY-friendly. Hardwired motorized systems require an electrician. For skylights higher than 10 feet or steeper than 45 degrees, professional installation is the safer choice regardless of blind type.
How do i fix a skylight blind that sags or tracks unevenly?
Raise and lower the blind several times after installation to identify tracking issues early. Adjust cable tension at the anchor points or reposition a side channel bracket to correct uneven tracking before the fabric wears.
Recommended
Comments